How to Remove Mould from Bathroom Silicone Sealant
October 08, 2026 - Bathroom

October 08, 2026 - Bathroom
October 07, 2026 - Kitchen

September 28, 2026 - Laundry
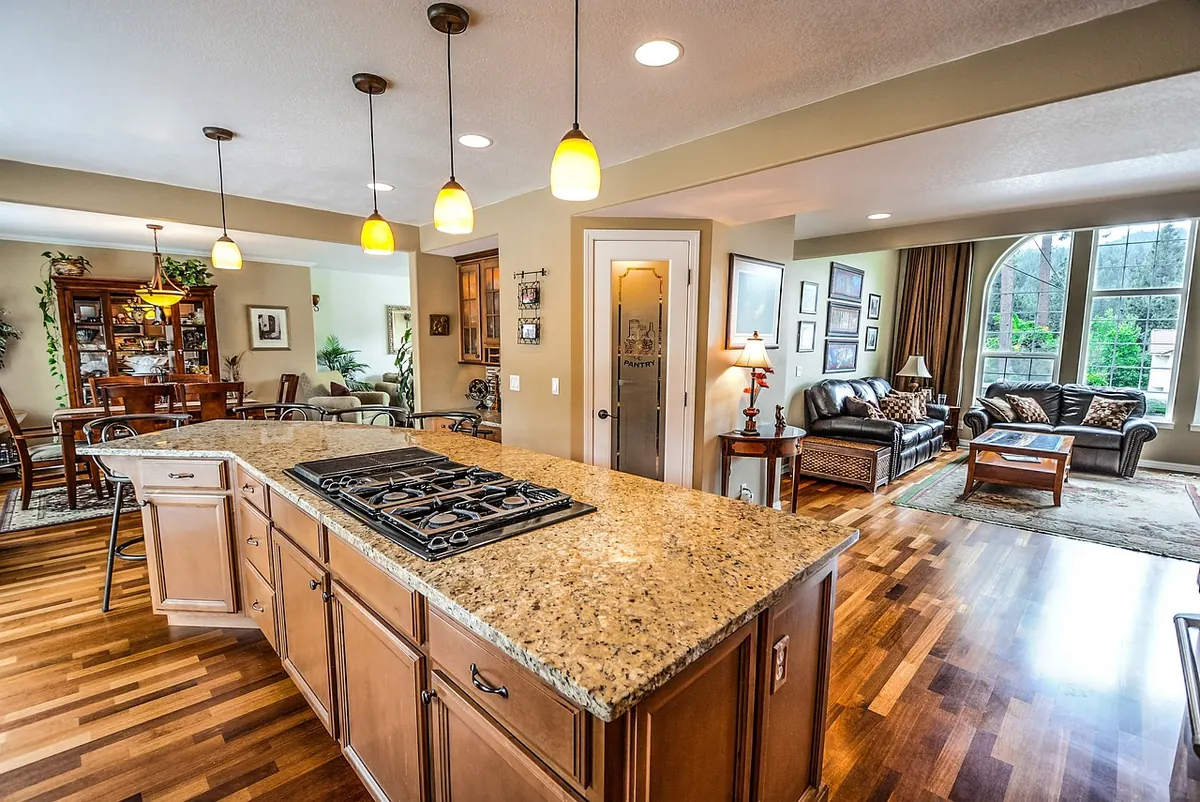
Few things age a kitchen faster than a worktop that has lost its sheen. It rarely happens in one go. It is the pan set down for thirty seconds, the onions chopped straight on the surface, the spray that seemed like a good idea at the time. By the time a top looks tired, you have usually been repeating the same small mistake for months. The good news is that most dullness is preventable or fixable, and the fixes are cheap. Here is what tends to go wrong on laminate, wood and stone, and what to do instead.
Heat is the quietest damage of the three. A roasting tin straight from the oven, a frying pan off the hob, a slow cooker left running all afternoon: each can leave a mark that no amount of polishing will shift.
On laminate, heat breaks down the resin layer that gives the surface its shine. The result is a pale, matt patch, or a blister that lifts and never sits flat again. Solid wood scorches more easily than people expect, and the scorch goes through the oil finish into the grain. Stone behaves differently again. Rapid temperature change can cause thermal shock, and while granite is fairly forgiving in normal kitchen use, quartz and marble are less so. A hot pan is not the way to find out how yours copes.
Fix: keep a trivet or two permanently beside the hob, plus one by the oven for trays. Folded tea towels help only a little, because heat passes through them. If you already have a faint heat mark on laminate, a specialist laminate restorer can soften it; a blister cannot be repaired at home. On oiled wood, a light sanding and re-oiling of the affected patch often works, though it is worth testing on an unseen corner first.
Every knife mark breaks the surface, and a scratched worktop catches light in a way that makes it look grubby even straight after cleaning. Laminate is the most vulnerable: a thin decorative layer sits over a chipboard core, and once a cut goes through that layer, water finds the core and the edge swells. Stone is harder, but not immune. Quartz can chip, marble scratches visibly, and granite develops a dull patch where you always slice.
Fix: use boards, and have more than one. A thick wooden or bamboo board for bread and vegetables, plus a plastic set for raw meat and fish that can go through the dishwasher. Do not cut directly on glass or acrylic boards either, as they blunt knives quickly. When you move a board, lift it rather than sliding it across the worktop, since trapped grit underneath scratches stone and laminate alike.
When a worktop feels greasy, the temptation is to escalate: a stronger spray, a cream cleaner, a scouring pad. That is usually the moment the shine goes for good. Abrasive cleaners and pads grind away the top layer, turning a satin finish matt. Bleach-heavy products left to sit can leach colour from laminate edges and dry out wood. Acidic cleaners, including vinegar, lemon juice and limescale removers, etch marble, limestone and travertine.
What to do instead:
Water is patient. A splash wiped up in a minute is nothing; a puddle that sits behind the tap for a week is a different story. On laminate, the weak points are the joins: around the sink, along the upstand, at the cut edges. Water creeps in, the core swells, and the join lifts. On wood, standing water raises the grain and dulls the oil finish, so a wet glass left overnight can leave a white ring by morning. On porous stone, oil, wine, coffee and beetroot soak in and stain below the surface.
Fix: blot first with kitchen roll, then wipe with a damp cloth and dry. Deal with spills the same day rather than at the weekend. For fresh marks on oiled wood, a light rub along the grain with a cloth and a little of the oil you normally use often lifts them. Deep stains in stone may need a poultice, which is best left to a stone specialist. If a laminate seam has already swelled, replacing the worktop is usually the only real fix, so check those joins monthly.
Worktops do not need much, but they need the right things. Missing that rhythm is why a three-year-old top can look a decade old.
None of this needs to take over your evening. A short routine, done consistently, is what keeps a worktop looking new.
If a worktop is deeply scratched, stained or scorched, or a stone top has lost its polish across a large area, a professional restorer can often bring it back. Ask for advice before attempting a repair yourself, particularly with marble, quartz or any sealed stone, as the wrong product can make the damage harder to reverse.
Photo: user32212 / Pixabay
Black mould on bathroom silicone is common and often fixable. Here's how to clean it properly, and how to tell when...
Baked-on grease inside, streaks outside — a practical, step-by-step guide to softening, scraping and polishing oven...
October 08, 2026 - Bathroom
October 07, 2026 - Kitchen
Copyright © 2026 Gleam Page. All Right Reserved.